TrueNAS finished
Nice!
Completed project !
Github
WARNING
Sorry but this project doesn't have a github repository...
Presentation
I have installed TrueNAS on my local machine in order to set up a shared folder system on the network using VMWare. TrueNAS is a powerful open-source network-attached storage (NAS) solution that allows for the creation of shared folders and provides advanced data management capabilities.
To set up the shared folder system, I first installed VMWare on my machine. VMWare is a virtualization platform that allows for the creation of virtual machines, which can be used to run multiple operating systems on a single physical machine.
Next, I created a virtual machine in VMWare and installed TrueNAS on it. Once the TrueNAS installation was complete, I configured the system to create shared folders that could be accessed by other devices on the network. This was done by configuring the network settings and creating user accounts with appropriate permissions.
To ensure that the virtual machine hosting TrueNAS was always available, I set it up to automatically start up using the Autostartup VM service in VMWare. This allowed the virtual machine to automatically start up when the physical machine is powered on, ensuring that the shared folder system is always available to other devices on the network.
I realized that the autostartup service of my virtual machines was not the most optimal, so I created a batch script that runs on machine startup and simply starts the virtual machine using vmrun.
The autostartup service for virtual machines can sometimes be slow or unreliable. It may not start the virtual machine at the right time or fail to start it altogether. This can cause delays and frustration, especially if the virtual machine is critical to your work.
To avoid these issues, I decided to create a batch script that runs when the machine starts up. The script uses the vmrun command to start the virtual machine. Vmrun is a command-line utility that allows you to control virtual machines from the command line.
The script is straightforward and only contains a few lines of code. It first navigates to the folder where the virtual machine is located, and then runs the vmrun command to start the virtual machine. This ensures that the virtual machine is always started reliably and quickly when the machine starts up.
Overall, creating a batch script to start the virtual machine at startup has been a significant improvement in my workflow. It ensures that I can always access my virtual machine without any delays or issues, allowing me to focus on my work without interruption.
After the shared folders were created and the VM start automatically, I tested the system to ensure that it was functioning properly. I was able to successfully access the shared folders from other devices on the network and transfer files between them.
Overall, installing TrueNAS on a virtual machine using VMWare and configuring it to automatically start up allowed me to create a powerful shared folder system on my local network, providing advanced data management capabilities and secure access to shared files.
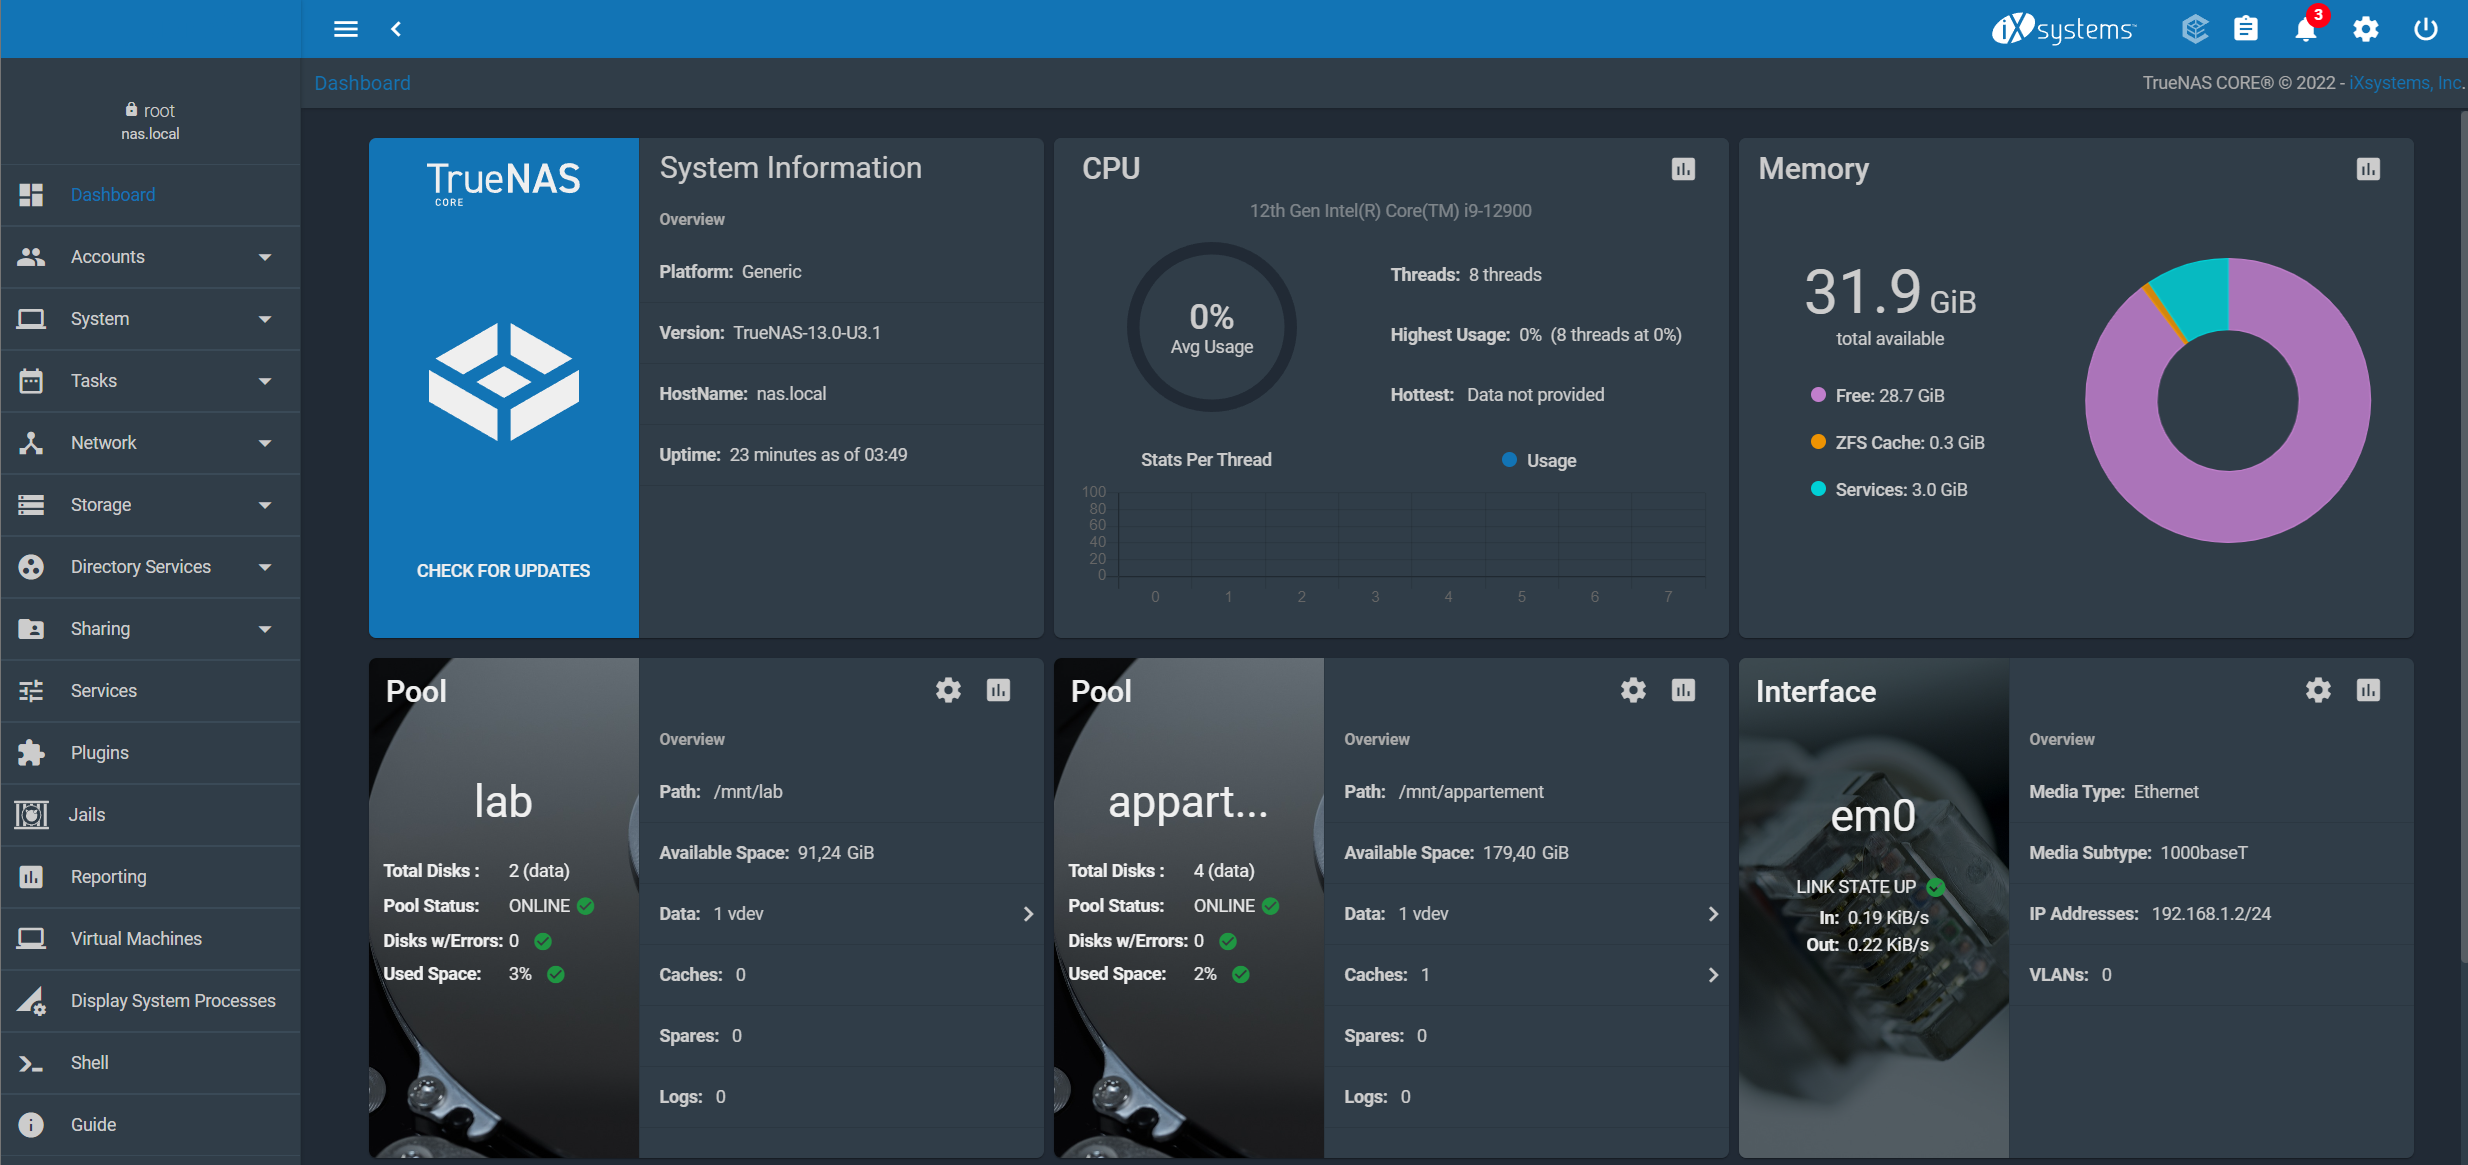
Preview of the dashboard :
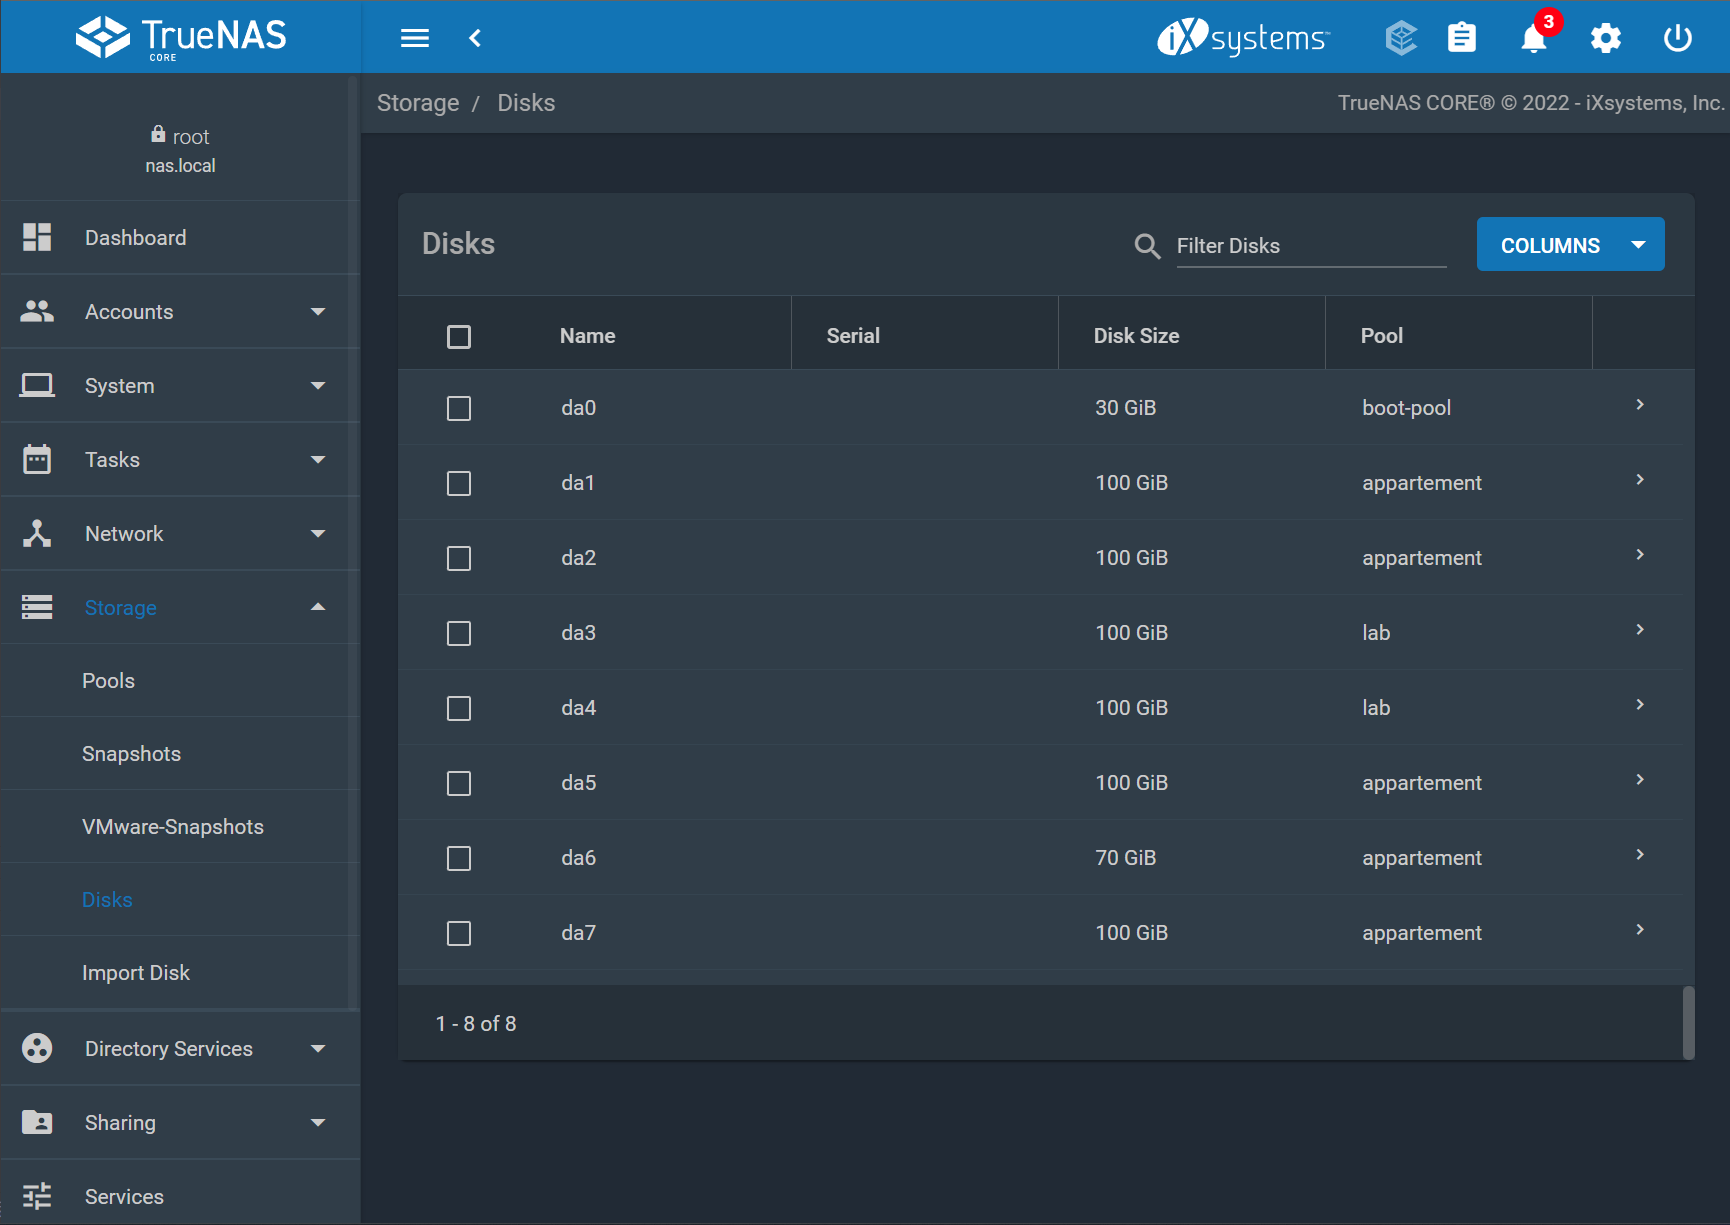
Preview of the installed disks :
Setup and configuration
Here are the steps to install and configure TrueNAS on a VMWare virtual machine:
- First, download the TrueNAS ISO image from the official website.
- Open VMWare and create a new virtual machine. Choose "Other" as the operating system type and select "Other OS" as the version.
- Give the virtual machine a name and select a location for the virtual machine file.
- Configure the virtual machine hardware, allocating at least 4GB of RAM to TrueNAS.
- Create a new virtual hard drive for the virtual machine.
- In the virtual machine settings, select the "CD/DVD" tab and choose "Use ISO image file". Select the TrueNAS ISO image that you downloaded.
- Start the virtual machine and follow the instructions to install TrueNAS, configuring the network and storage options.
- Once the installation is complete, restart the virtual machine and log in to the TrueNAS dashboard.
- Configure the network settings by clicking on "Network" in the left sidebar.
- Configure the storage by clicking on "Storage" in the left sidebar and creating storage pools for your hard drives.
- Activate the services you want to use in "Services", such as SMB or NFS file sharing, FTP server, etc.
- Configure various TrueNAS settings in "System Settings", such as language, time zone, automatic updates, etc.
- If you need help configuring or using TrueNAS, consult the official TrueNAS documentation.
That's it! You have now installed and configured TrueNAS on a VMWare virtual machine and can start using it to store and share files on your network.